

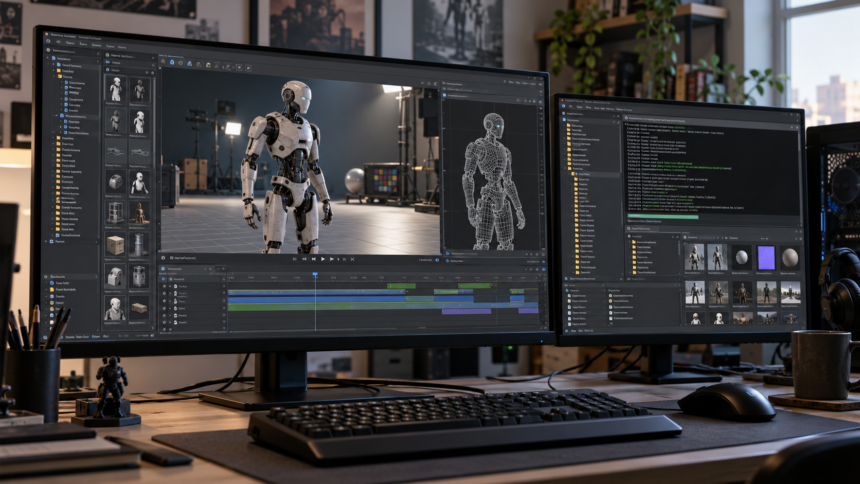
A custom model can look finished in Blender and still need more work before it appears correctly in Source Filmmaker. The SFM compile process bridges that gap by converting exported model data into files Valve’s Source engine can load. It is separate from rendering an animation, although the two tasks are sometimes grouped under the same phrase. For creators, understanding that distinction makes troubleshooting much easier: a missing model calls for different checks than a failed movie export. This guide explains the essential files, the role of the compiler, and a practical approach to getting custom assets into a scene.
What Does SFM Compile Mean?
In a model workflow, compiling means processing exported geometry and related instructions into a Source model. Valve’s StudioMDL performs this conversion, producing a binary .mdl file and supporting files used by the engine. Source SDK documentation distinguishes these compiled assets from source files such as .smd, .dmx, and .qc.
Source Filmmaker itself is Valve’s filmmaking application. It combines animation, editing, sound, and rendering workflows, but it does not create polygon meshes or textures. Those assets are made with external tools and prepared for use in the Source environment.
Valve describes the setup this way: “you can think of the SFM as a virtual movie set with lights, actors, props and cameras.”
The practical consequence is straightforward: building a prop, compiling it, animating it, and exporting the finished shot are separate stages.
The Files Behind a Compiled Model
A Source model is more than its visible .mdl file. Its supporting files carry information needed to display the mesh, while materials and textures follow their own folder structure.
| File type | Purpose |
|---|---|
.smd or .dmx | Source model data used before compilation |
.qc | Instructions used during model compilation |
.mdl | Model information, including skeleton and animation data |
.vvd and .vtx | Vertex data and information used for rendering |
.phy | Collision data, when generated |
.vmt and .vtf | Material definitions and texture data |
The exact output depends on the model and compiler settings. Physics data is conditional, so a missing .phy file does not automatically mean compilation failed. Keep the generated model files together when transferring an asset.
Treat source files and compiled files as separate working sets. Preserving the originals allows you to revise the asset without depending on decompilation later.
A Practical SFM Compile Workflow
Start with a simple prop when learning the process. A character with facial controls, several materials, and complex animation introduces more variables before the basic pipeline is working.
Prepare and Export the Model
Finish the geometry you intend to test, then check its material assignments and, where applicable, its skeleton and skinning. Export through a tool that produces suitable Source model data.
For Blender users, Blender Source Tools is an established part of this workflow. A published SFM model tutorial describes exporting an SMD, preparing a QC script, and compiling through SFM’s tools or Crowbar.
Give each test asset a distinct name. Keep its exported files in one working folder so that references are easier to inspect. Before moving on, confirm that the export exists where your compilation instructions expect it.
Prepare the QC and Compiler Setup
The QC is the instruction file selected for compilation. Crowbar provides a graphical interface for this stage, but it calls the selected game’s studiomdl.exe rather than replacing the compiler.
In Crowbar, configure the Source Filmmaker tool paths, select your QC under QC input, check the output location, and choose the appropriate model compiler. Different games can compile different model versions, making the compiler selection a compatibility decision.
For an initial test, include only the features the model needs. Adding several unfamiliar settings at once makes an error harder to trace.
Prepare Materials and Textures
Textures require their own preparation. Source SDK documentation places compiled models under models and material assets under materials. A typical texture workflow converts an image into VTF format and creates a VMT material definition.
These files serve different purposes: the texture supplies image data, while the material defines how that data is used. Converting the image alone does not complete the material setup.
VTFEdit is one tool used for this conversion. An SFM model tutorial also describes creating a VMT and selecting the VertexLitGeneric shader for a basic model material.
Compile, Inspect, and Test
Run the compiler and read the log before opening a production session. Crowbar exposes compilation progress and errors, and it can pass a successful result to a model viewer.
Inspect the asset in the viewer, then place it in a small SFM test scene. Check its scale, orientation, surface appearance, and movement where relevant. A completed compile confirms that files were produced; visual inspection establishes whether the asset behaves as intended.
Troubleshooting Without Guesswork
Use the visible symptom to choose your next check.
Compilation Stops With an Error
Read the named file, command, or location in the log. Compare that detail with your working files before changing unrelated settings. Preserve the error text and make one correction at a time, then compile again.
This approach keeps the cause and result connected. If several changes are made together, even a successful retry may leave you unsure which correction mattered.
The Model Shows a Checkerboard Surface
A pink or purple checkerboard points toward missing material or texture references. Crowbar’s Preview information lists the material folders and VMT filenames expected by a model, providing a concrete starting point for comparison.
Check those names against the files you actually supplied. Then inspect the material’s texture reference. Rebuilding the geometry should not be your first response to a surface problem.
The Model Does Not Appear
Confirm that the compiled files reached the intended destination. Check the compiler’s output location and the content folder you are using.
Open the exact output file in a model viewer where possible. Valve supplies Half-Life Model Viewer for inspecting Source models, allowing you to examine the asset outside an animation scene.
Compiling a Model Versus Exporting a Movie
Model compilation prepares an asset for use inside Source Filmmaker. Movie export produces something an audience can watch outside the application. Valve describes SFM recordings as exportable movies or still images.
Before a final export, review the camera framing, shot timing, lighting, and audio. Render a short representative section first so you can assess the result before committing to the full sequence.
Resolution also affects the export stage. Valve’s documentation explains that higher rendering resolutions require appropriate startup options and can increase rendering time. Raising export resolution does not correct a broken model or missing material.
Frequently Asked Questions
Is SFM compile a separate program?
In this workflow, the phrase describes a process. StudioMDL performs model compilation, while Crowbar can provide its graphical interface.
Is Source Filmmaker free?
Yes. Valve makes Source Filmmaker available free through Steam. Custom asset creation may involve additional tools.
Can I use a Blender model in SFM?
Yes, with suitable export and asset preparation. A Blender project must pass through the Source model workflow before its compiled result can be used.
Do all compiled models need a physics file?
No. Collision data is generated when the relevant collision setup is included; it is not a universal requirement for every model.
Should I decompile a model before editing it?
Use the original source files when available. Crowbar’s developer explains that decompilation can recover editable data, but some models and animations are not reconstructed perfectly.
Conclusion
A reliable SFM compile workflow depends on suitable source data, correct compiler setup, complete materials, and careful inspection. Work through those stages individually, preserve your source files, and test each asset before adding it to a larger scene. Once the model works, move on to animation and movie export.
Read also Desktop Harmony: Elevating Your MagSafe Charging Setup With RYAN London Fine Leather
Another topic to read: Latest Feedbuzzard Com: A Complete Guide to New Articles and Updates in 2026